The Process:
This is a hairstyle that's I've seen on Instagram for years but could never figure out how to recreate it. I was definitely over thinking it. Whenever I started experimenting with this hairstyle in mind, I could never seem to get my hair to go (and stay) where I wanted it to. I also never found out the name of it to look up a tutorial since everybody called it something different. When Cute Girls Hairstyles posted a tutorial last week, I was over the moon. At last! I could finally learn the hairstyle I've been pining over for the last few years! I was mildly disappointed to find out how easy it was. It was this easy and I still wasn't able to work it out on my own. Looks like I've got a lot to learn.
The Tutorial:
Cute Girls Hairstyles are a godsend when it comes to hair tutorials. I was a little too excited when I saw the Stacked Pull-Through Braid tutorial in my subscription box. It's essentially a pull through braid (which I called a Reverse Pull Through because I clearly only have a quarter of a brain) but before tying off the bottom of the section, you feather it. That's fancy-talk for taking a small piece of hair out of the section. In this case, you'd want to feather as centered as possible to keep a straight line going down. Since I opted to do mine to the side, I found that taking very small pieces of hair is more than enough. Because I was doing a side braid, the top two "feathers" combined into one strand, which allowed for a nice starting point. Once you've finished pulling through and feathering, it's time to braid! One section at a time, Dutch braid until you reach the next section. I found that splitting this next strand into three section makes for a smoother braid. If you were to add the whole section to one strand of the braid, it'll become lumpy and unattractive.The Result:
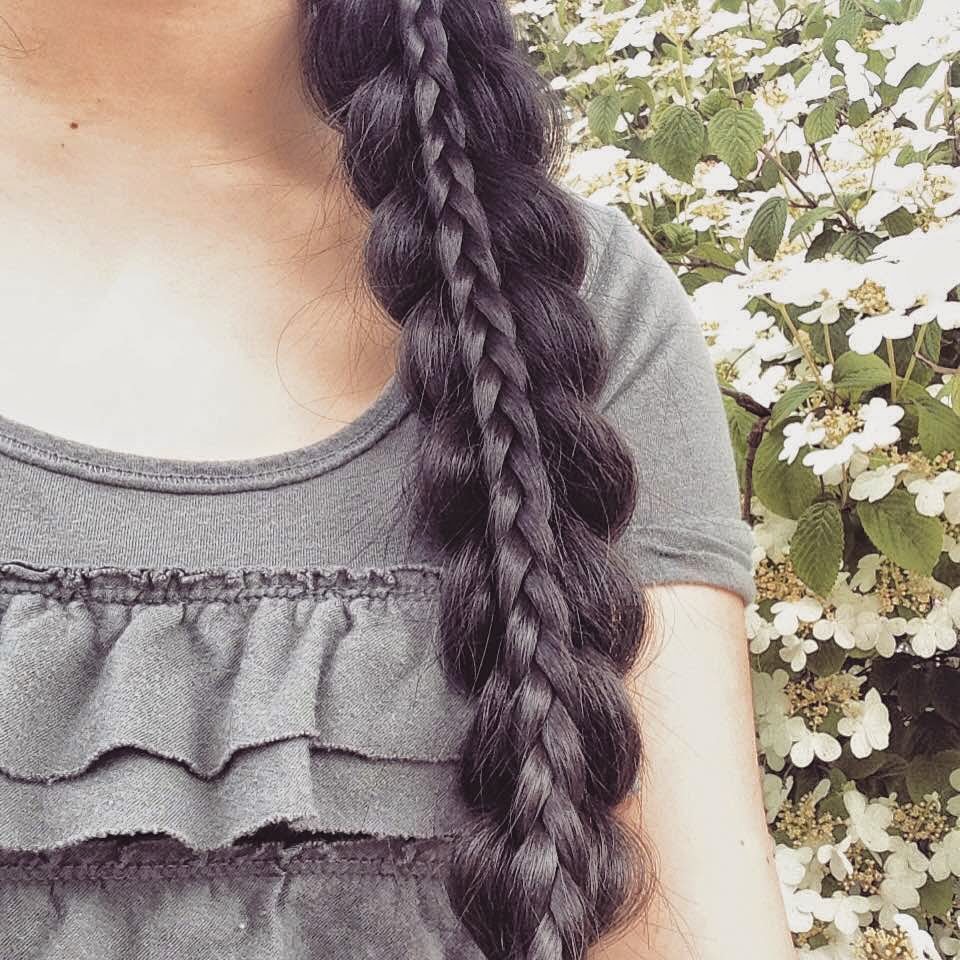 |
| 5.1.15 stacked pull through (x) |
The Verdict:
I am so happy I finally learned how to create this braid. It's such a fun hairstyle to wear and compliments come from every direction. This also covers up the elastics that would have peeked through (see: Reverse Pull Through) and for some reason, it doesn't feel as stiff as the Reverse Pull Through was. I want to try a couple things with this hairstyle and I'll keep you updated if anything comes from it. Up close, it was kinda messy, although they weren't flyaways. It probably the act up pulling the hair through itself that left it a little unruly.
What did you think of this one? Hopefully I'll have more opportunities to take #hairoftheweek photos outside now that it's warming up. Don't forget to follow me on Instagram and check back here on Wednesday for a book talk!
What did you think of this one? Hopefully I'll have more opportunities to take #hairoftheweek photos outside now that it's warming up. Don't forget to follow me on Instagram and check back here on Wednesday for a book talk!
Talk to you soon!
The weather was pretty great this week. I really like this hair style. This one is my favorite of the season so far. It goes great with warm weather!
ReplyDeleteThanks! I think it'd be fun as a ponytail but I can't reach back there and my arms don't have that much stamina.
DeleteI showed this to Daph and she said "how does that even happen"
ReplyDeleteTell Daph to read my blog ily guys
Delete